How To Add Photos
How to add photos to the Online Creator
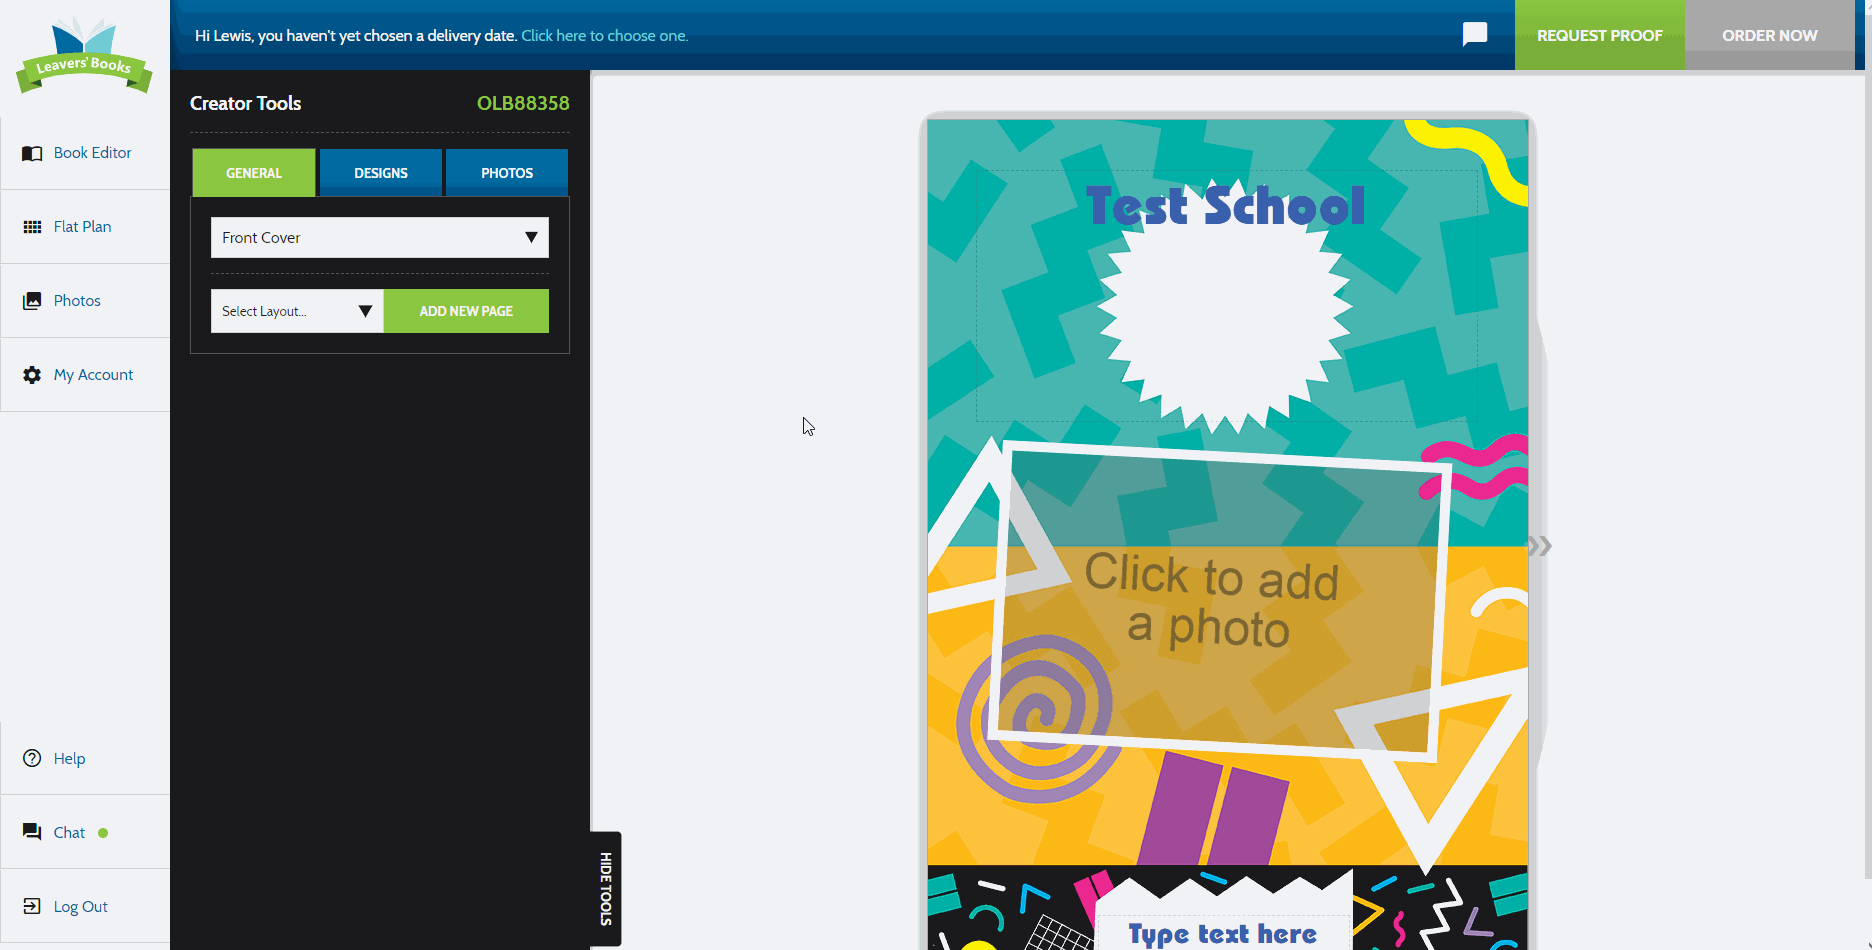
Learning how to add photos is an essential part of creating a yearbook. You may be able to explain the memory you want to share, but they say a “Picture speaks a thousand words” and we agree! Adding photos to your account is easy and starts by clicking on the ‘Photos’ tab on the left side of the creator.
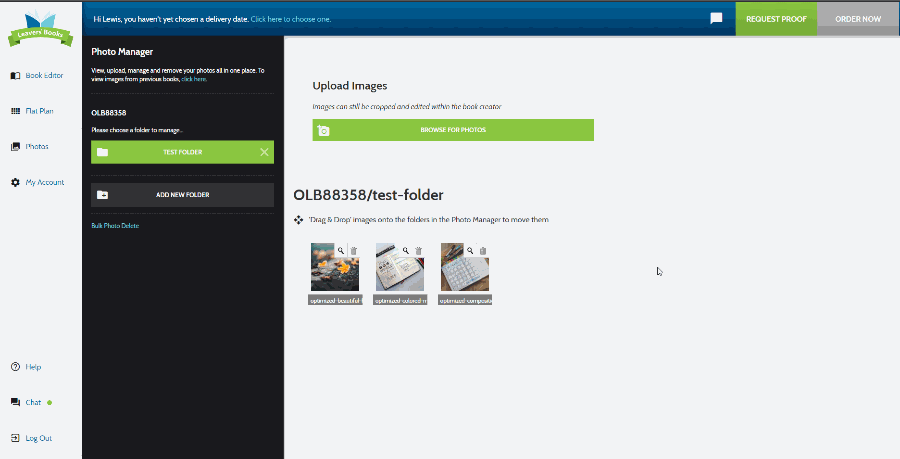
The photo manager page will open and you can begin uploading. Here you can add folders to help keep photos organised and we highly recommend you do this. Simply click on ‘Add New Folder’, provide a name and then click save to create your first folder. You are then greeted with the option to add photos from your computer. Upload as many as you want, click on ‘Start Upload’ and wait for the Online Creator to process the files.
Repeat this process for as many folders as you want (profile photos, group photos, extras etc). You can also upload them all into the folder we have just helped you create, it’s entirely up to you. We recommend multiple folders to help you later on.
How to add your photos to pages
Now that you have all your favourite memories captured in photos and on our Online Creator, it’s time to get creative with the pages!
Once you’re on the page you want to add some yearbook photos too, you just need to ‘Click to add a photo’ and select the correct folder you recently set up. From here you pick the photo you want to add and voila! Once the photo is added you can crop and rotate it using the Scissors and Arrow button overlayed on it.

It really is as simple as that! Within a few clicks, you have photos on your pages and your school yearbook starts to take shape.
Deleting your photos
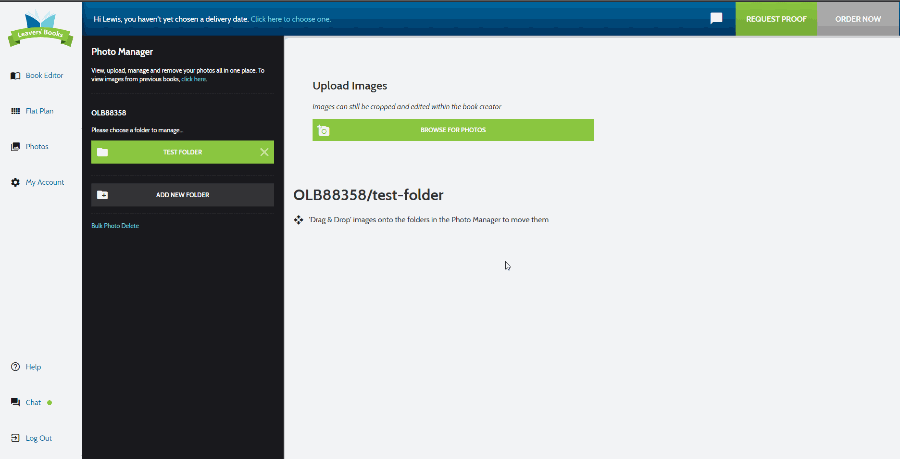
If you have uploaded one too many or no longer need them in your yearbook, you can always delete them. This can be done easily in the photo manager section. Simply click on the ‘Bin’ icon on a photo to delete it or select multiple and delete them all at once. You can see how to do this below:
We also have a feature to bulk delete photos off multiple pages if you have made a few errors. This can be very handy if you want to replace photos on a group of pages you have already completed. See how easily this can be done below:
You’re now a photo manager professional so it’s time you get started on managing your content.