How to Add Montage Pages
What Are Montage Pages?
Having photos flow through every page of your yearbook is our idea of a perfect one! We love meaningful messages as much as the next person but a photo captures so much more. You can see the excitement on their faces, the happiness they’re experiencing with their friends and teachers and we think that is priceless. With that in mind, we created montage pages to help you showcase these moments inside your school yearbooks with ease.
Whether it’s a trip, an event or just a really fun day, sometimes there are groups of photos that work better together. To help with this we have added a collection of Montage pages to our Online Creator. Adding a montage page is very simple and can be done via the Flat Plan section or in the Book Editor.
Adding Your Montage Pages
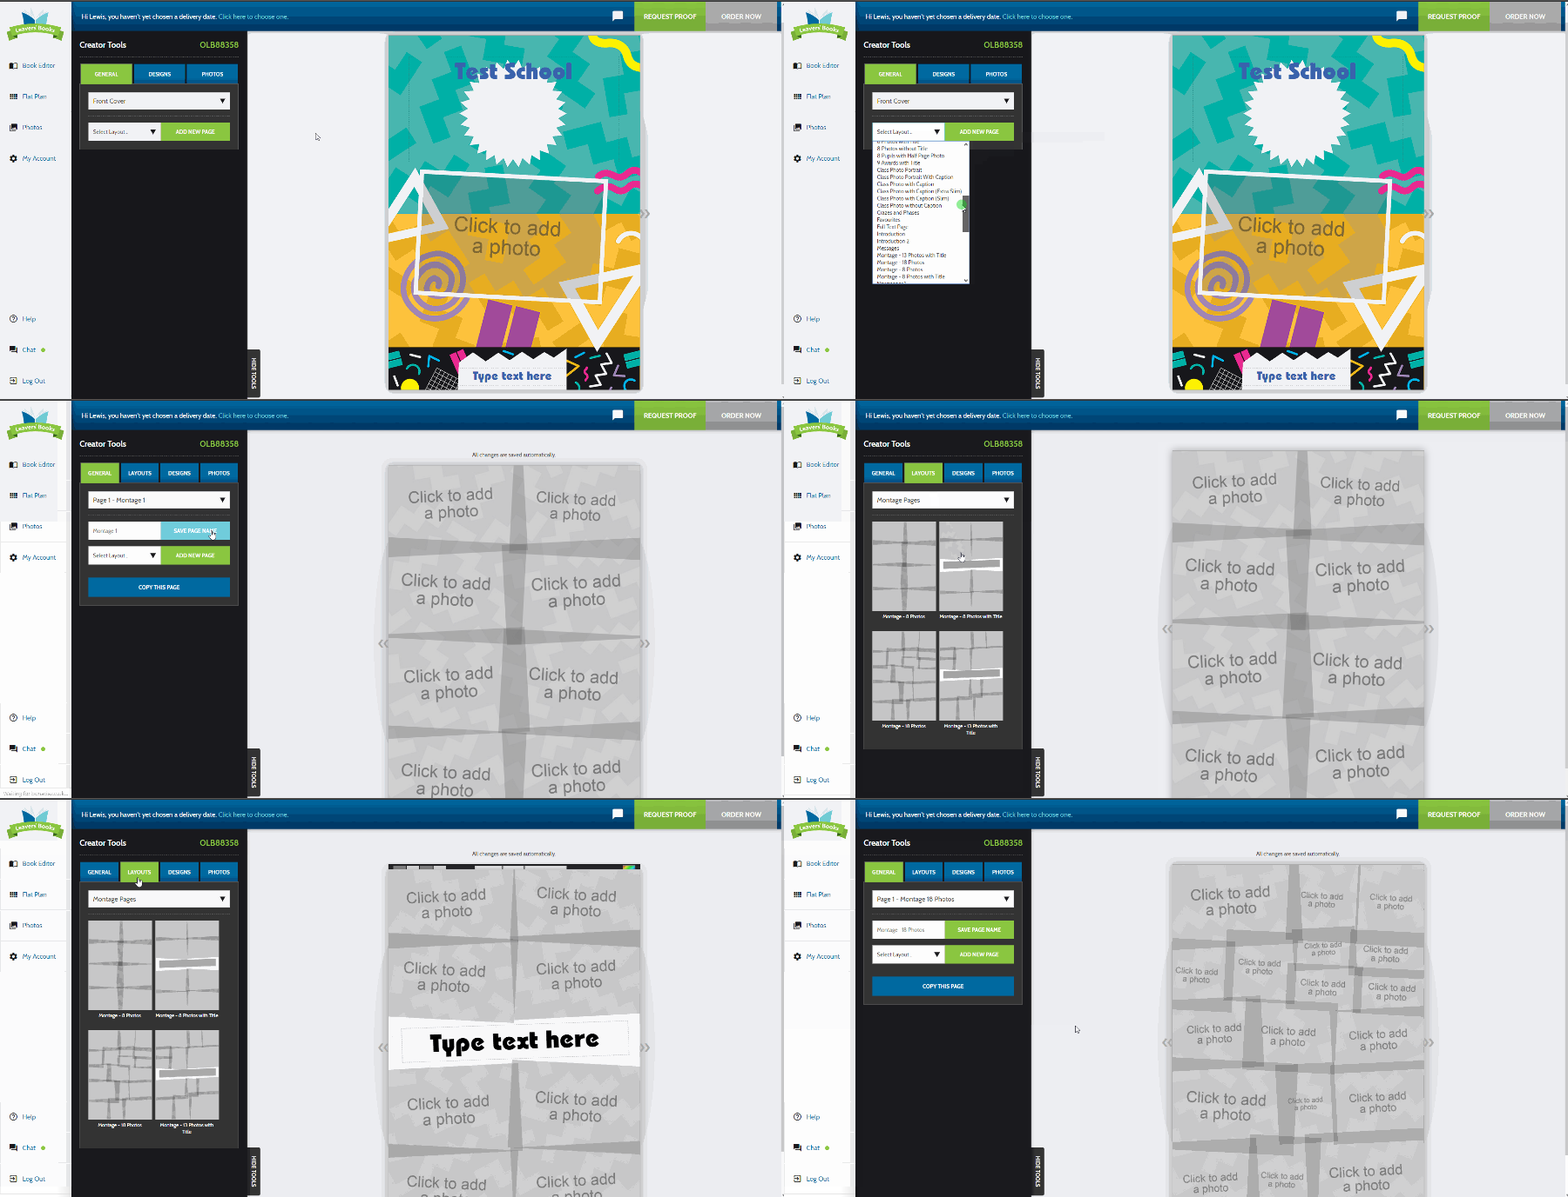
To add a montage page via the ‘Book Editor’ you need to click on the ‘General’ tab and select your layout from the drop-down menu. Once you have found the perfect layout for your yearbook click on ‘ Add New Page’. This will insert you a montage page on the next available page.

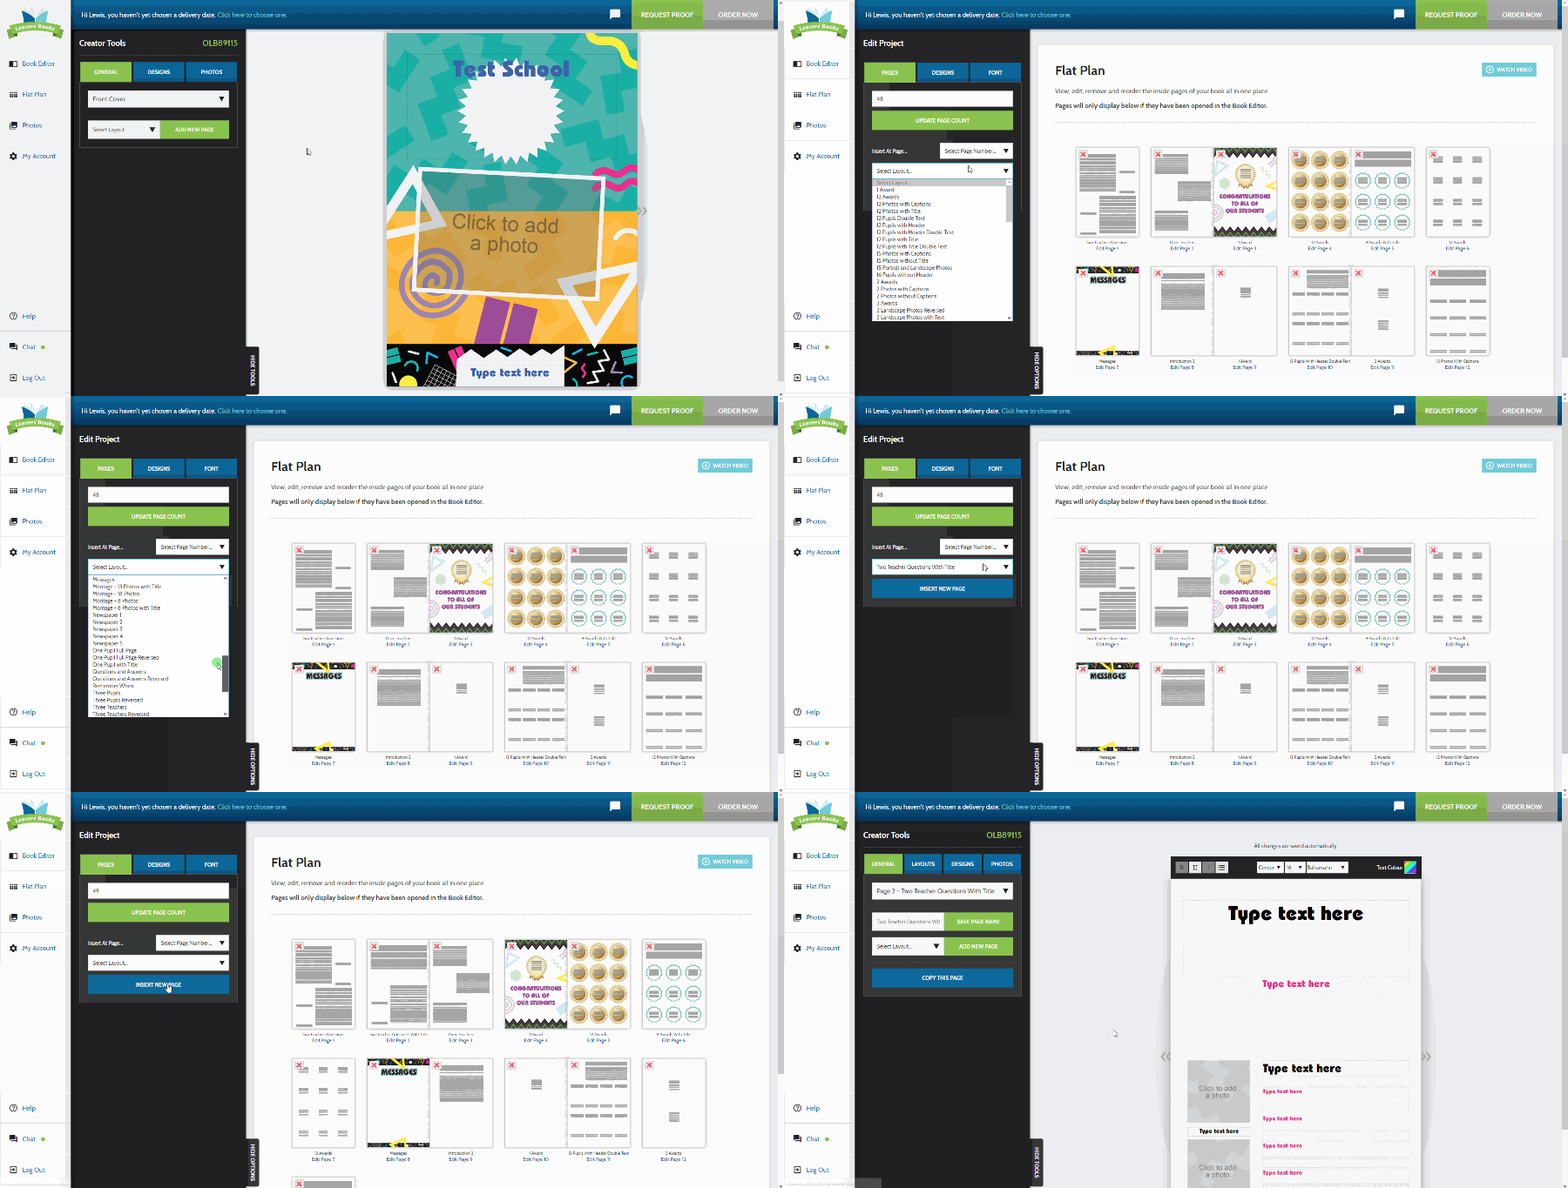
Adding montage pages via the flat plan is just as easy but lets you select the exact page number you want it. This can be very handy if you are adding in the page later on in the creative journey. Again, you select the layout you want from the drop-down menu, then you pick the page number to insert in. Once you have done this, simply click ‘Insert New Page’ and you’re ready to go.

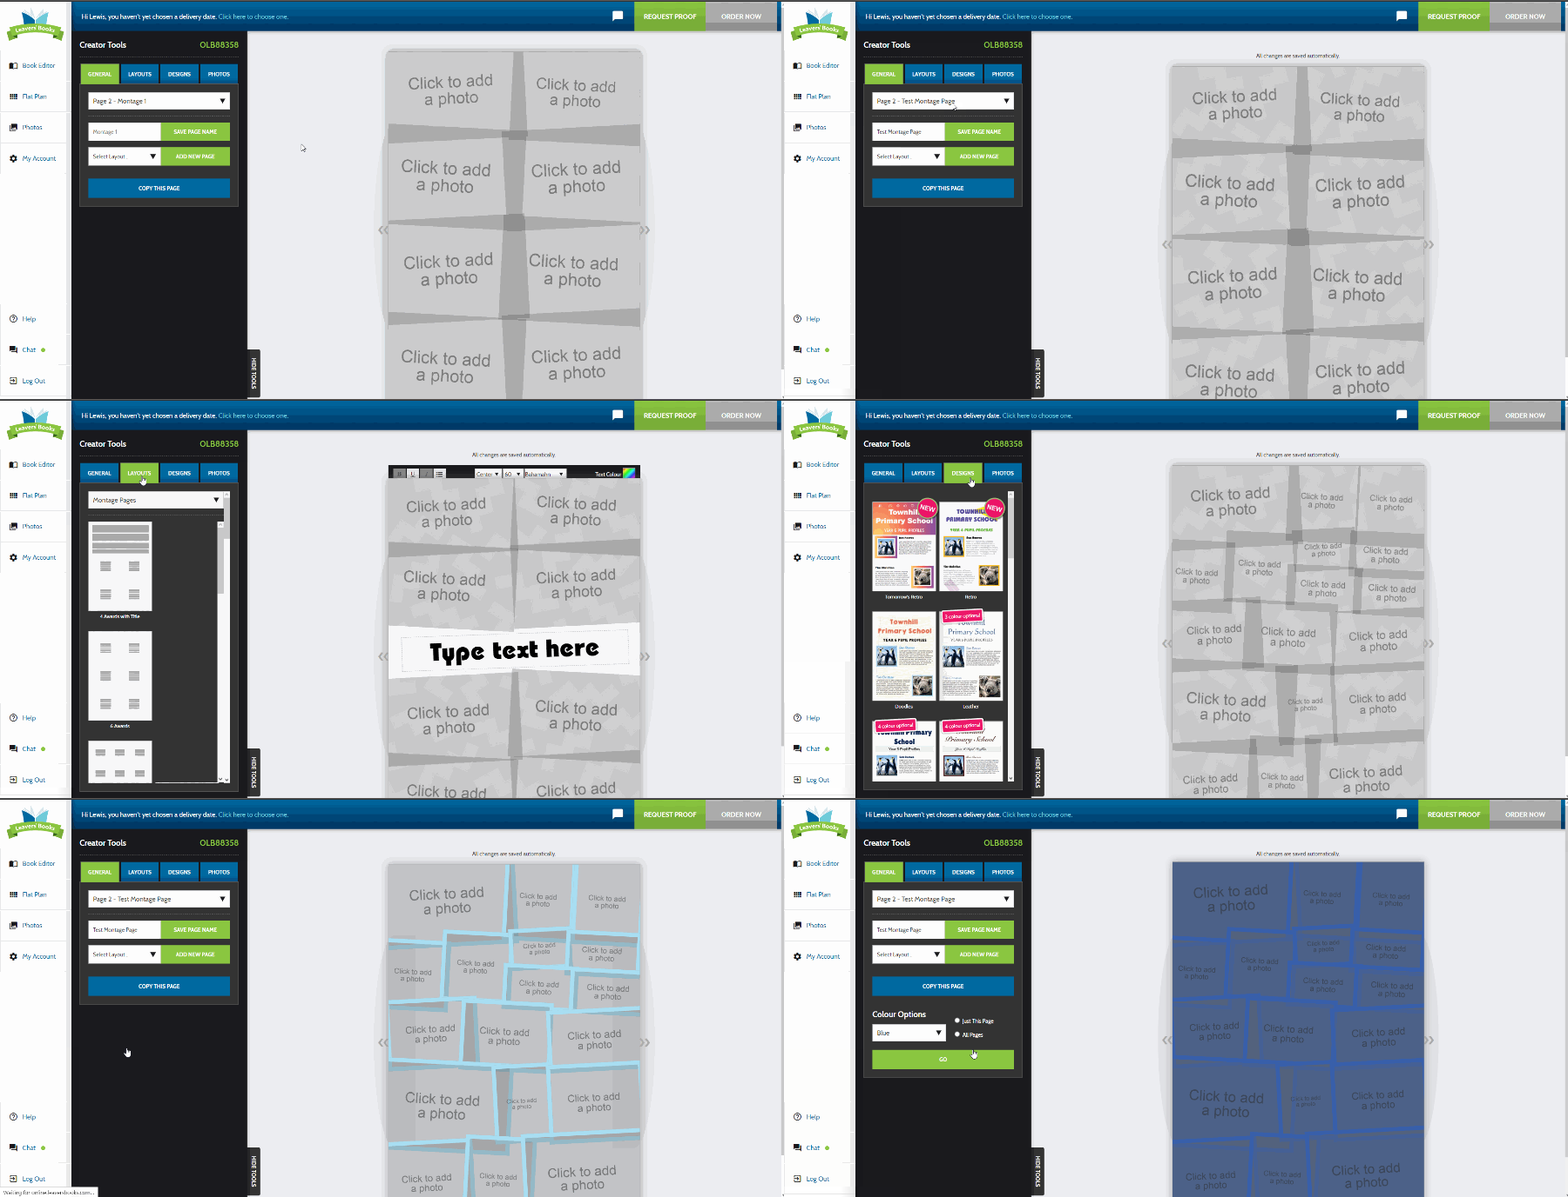
After your montage page(s) are added you have the option to change the layout, design and provide a name if you have multiple pages. Pick a design that suits you and makes sure you have enough space for all your amazing photos.

Now you have a collection of fantastic memories all in one place so let’s continue to fill your school yearbooks.
