Setting Up Your Profile Pages
Setting Up Pupil Pages: Option One
When it comes to profile pages, there are a few ways in which this can be done but our favourite and arguably the easiest is to get the pupils to do all the work! Inviting pupils is a fantastic way to get all your leavers involved when you create a yearbook.
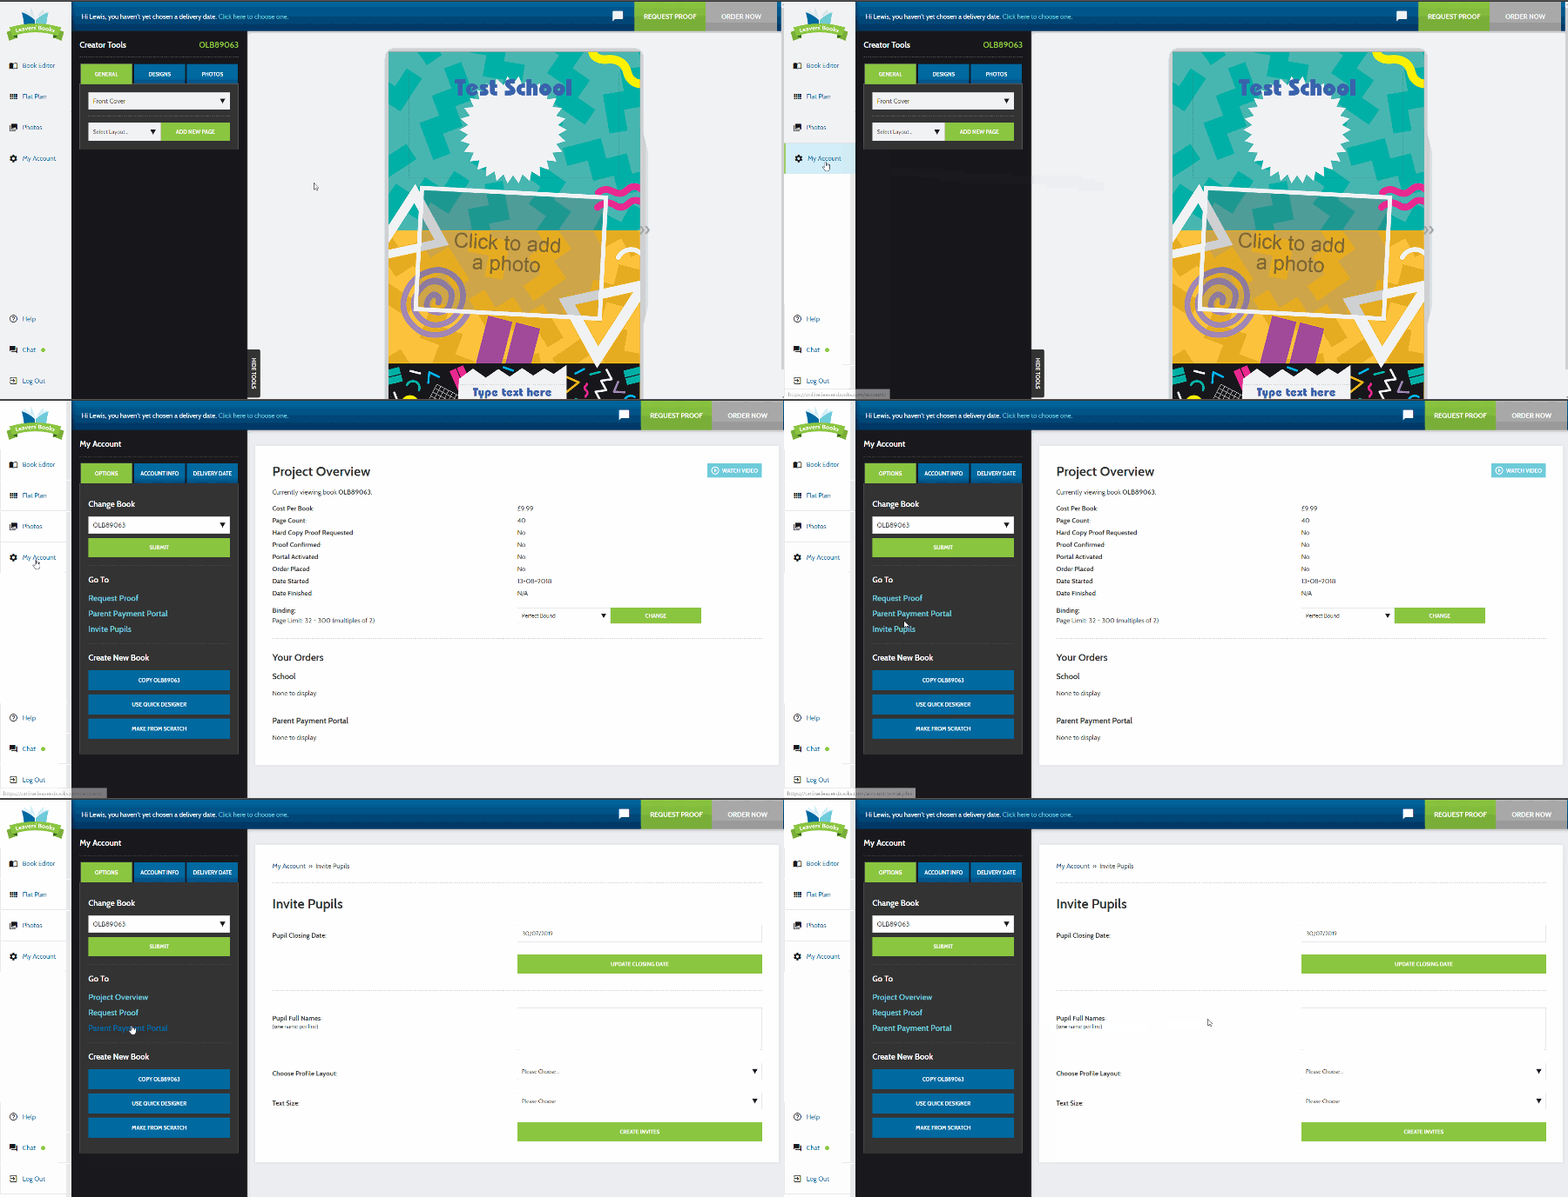
To begin this all you need to do is click on the ‘My Account’ tab on the left-hand side of the Online Creator and then navigate to ‘Invite Pupils’. See below for an example:

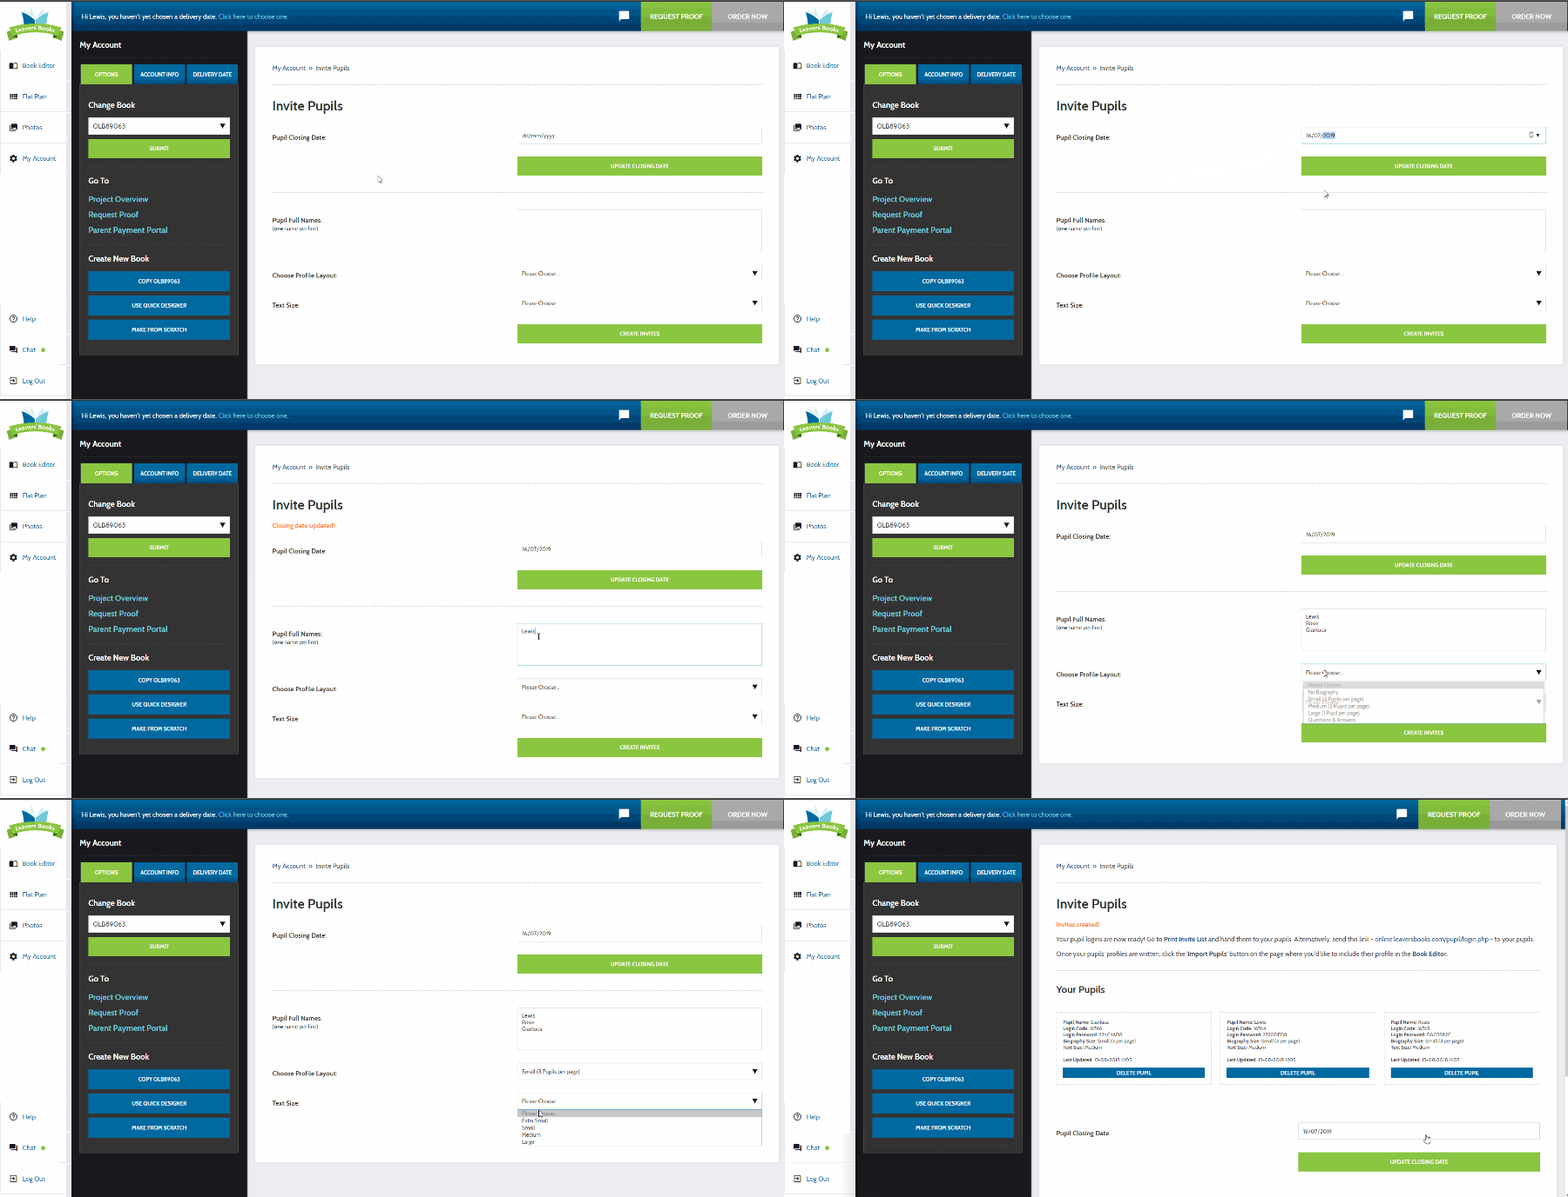
Once you are here there are a few very simple options to fill in and your yearbook invites are created. First, you want to enter the deadline the pupils have to get their profile written, enter the names of the pupils and select which page style you prefer. Usually, we recommend 2 pupils per page because this gives you plenty of space for text and two photos per pupil. Select your text size (medium is good) and click on ‘Create Invites’.

This will provide a unique URL and a set of invites for the pupils you have added. This lets your pupils add their own profile text about what they enjoyed at school, their favourite memories and any other information you may want with the addition of their favourite photos.
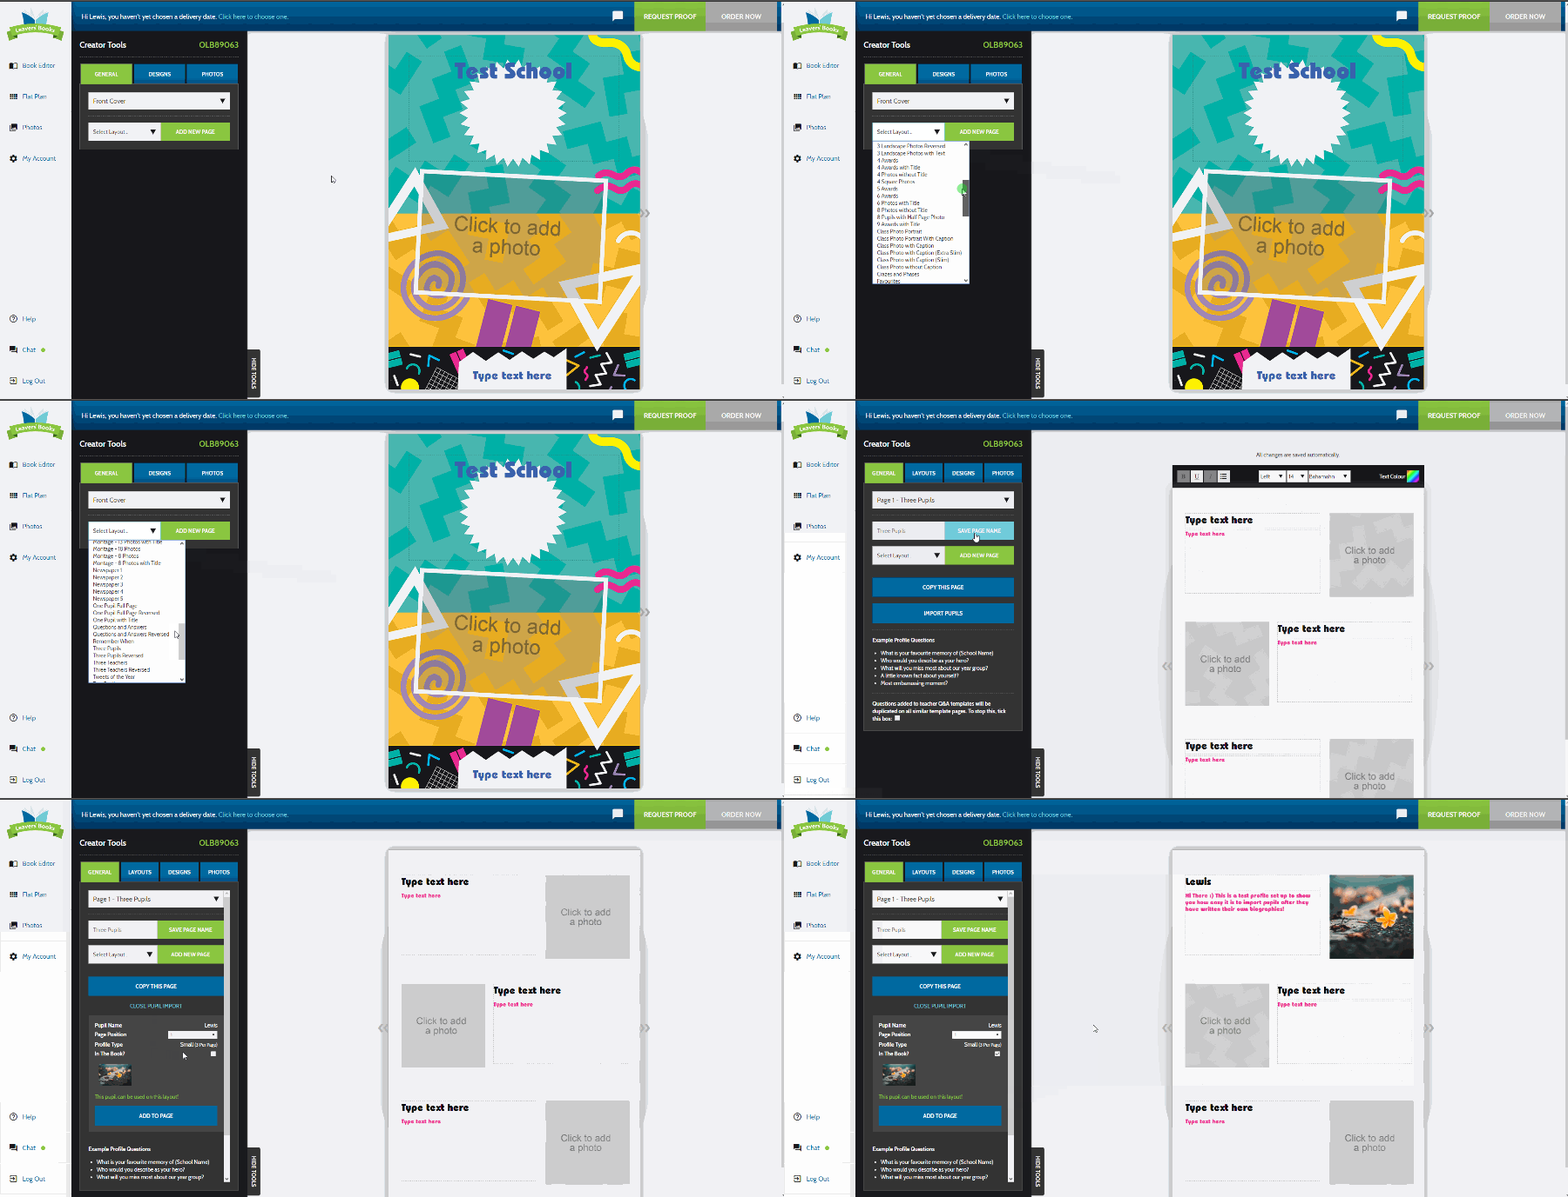
Once they’ve done this, add the type of page you selected before and simply ‘Import’ your pupil’s profiles into your yearbooks. You can edit them if there are any mistakes or you just want to add a little more text.

Setting Up Profile Pages: Option Two
Another option is for you to add the pages from inside the ‘Book Editor’ and to write the profiles yourself. While this may be a bit longer for you it means you don’t miss out on any of the fun. We recommend this method if you are aiming to keep the school yearbooks a surprise for the leavers.
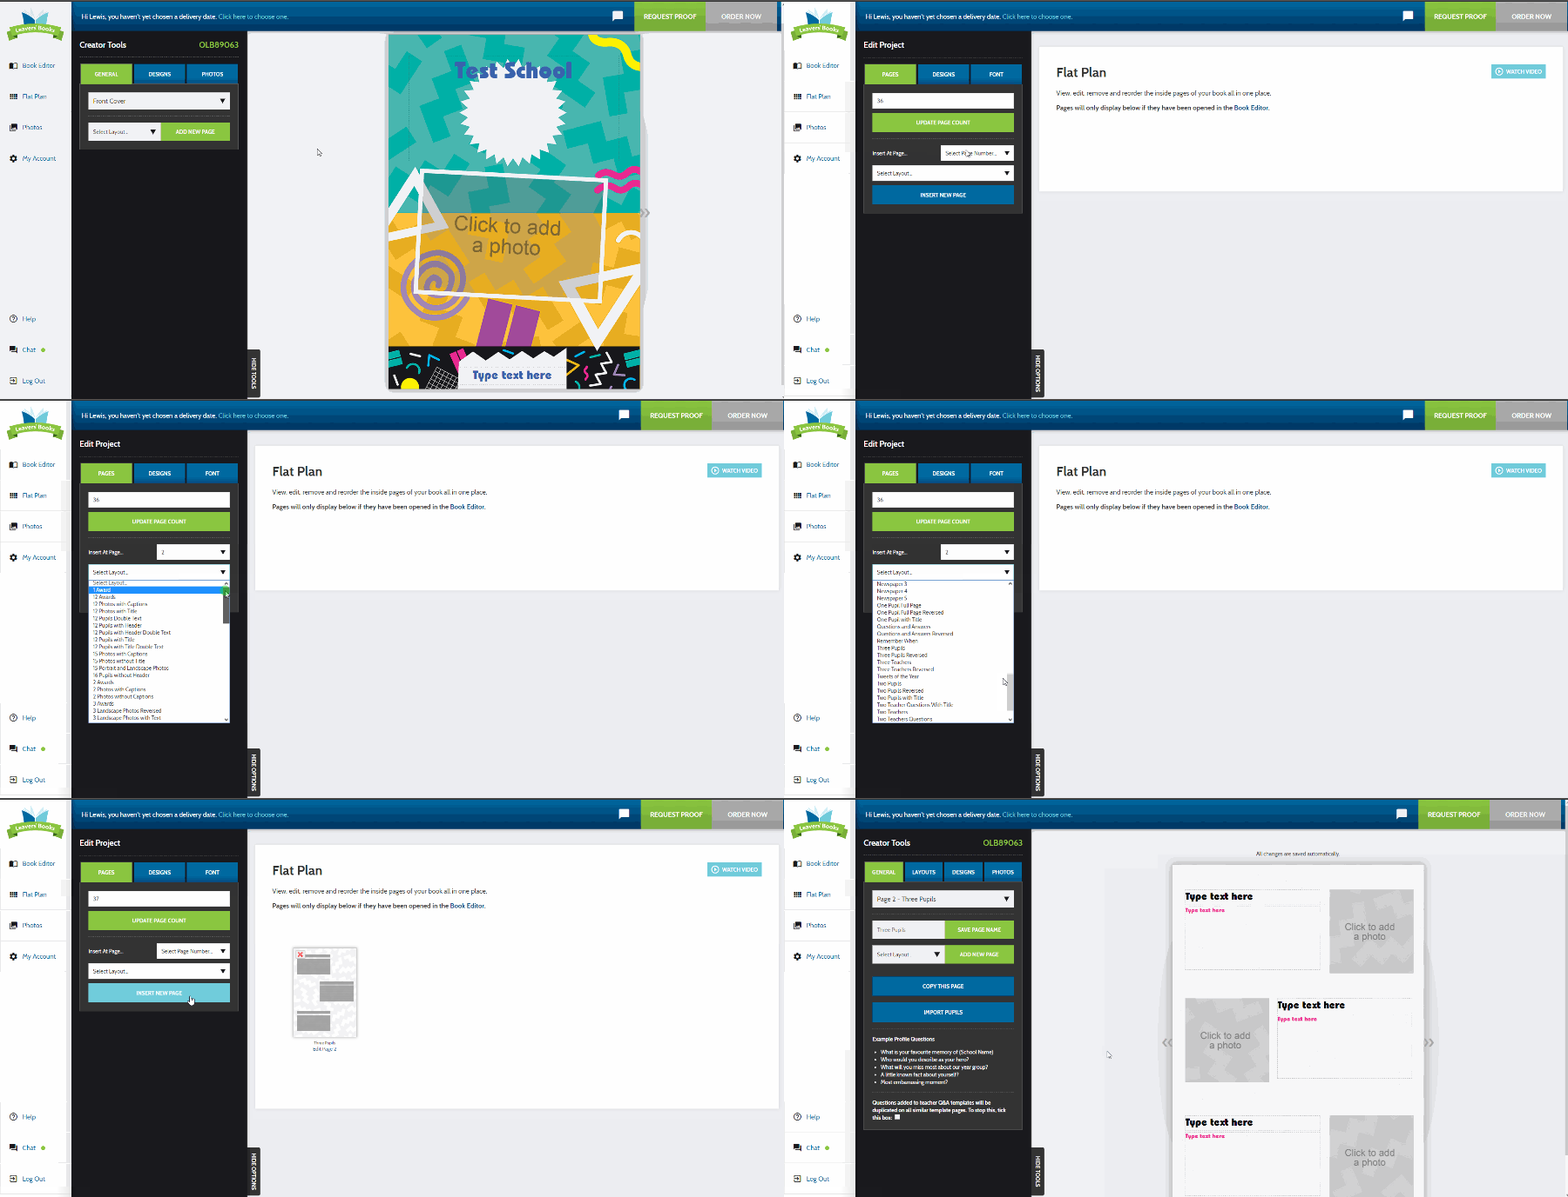
This method is very simple and can be done by adding a new page on the Flat Plan screen. Select the page layout you like, the page you want the profiles to start at and click ‘Insert New Page’. From here, add the pupil profiles in your desired order, add the photos and begin making your yearbooks feel personal.

Alternatively, you can add a new page from the ‘Book Editor’ as shown in Fig 3. Once added, you just follow the same steps mentioned before and your profile pages will start taking shape.
